Description
HTC valve chamber angular
The valve chamber for maximum occupancy - up to 12 stations possible - with compact dimensions and user-friendly features.
- Occupancy of up to 12 stations possible
- Steep side wall in the cut-out area for user-friendly handling
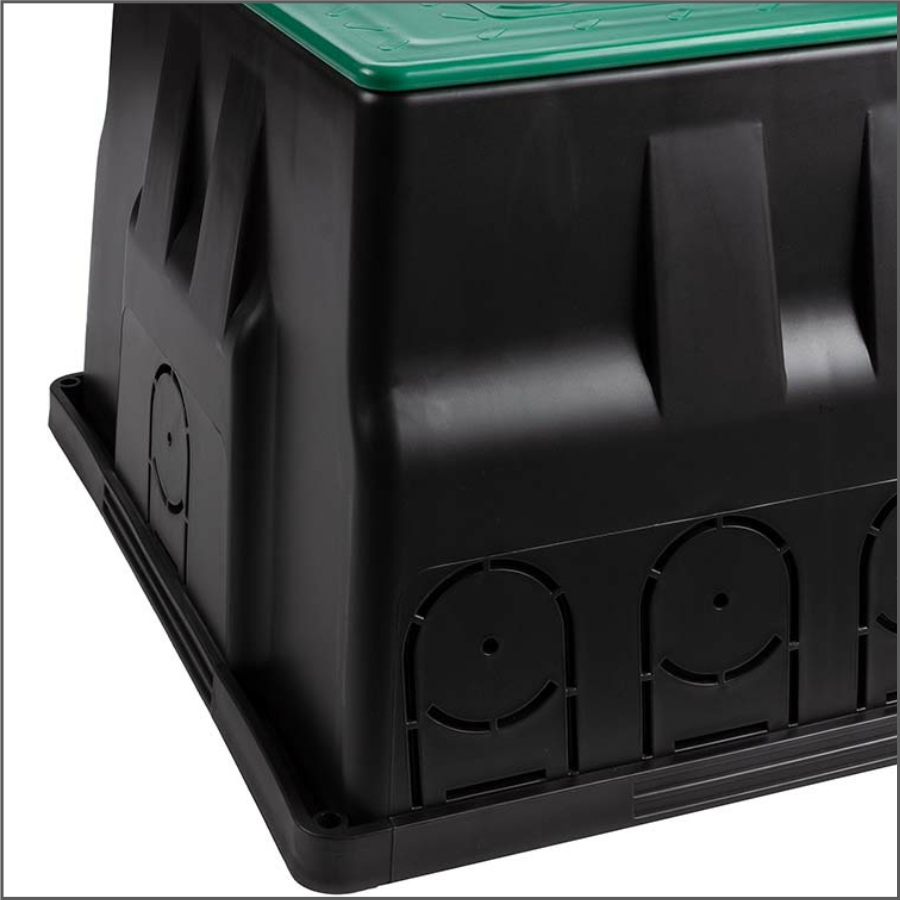
- Pre-punched inlets and outlets (Ø 68mm) for easy opening with a hole drill (cavity wall box hole saw) or similar
- Vandal-proof closure
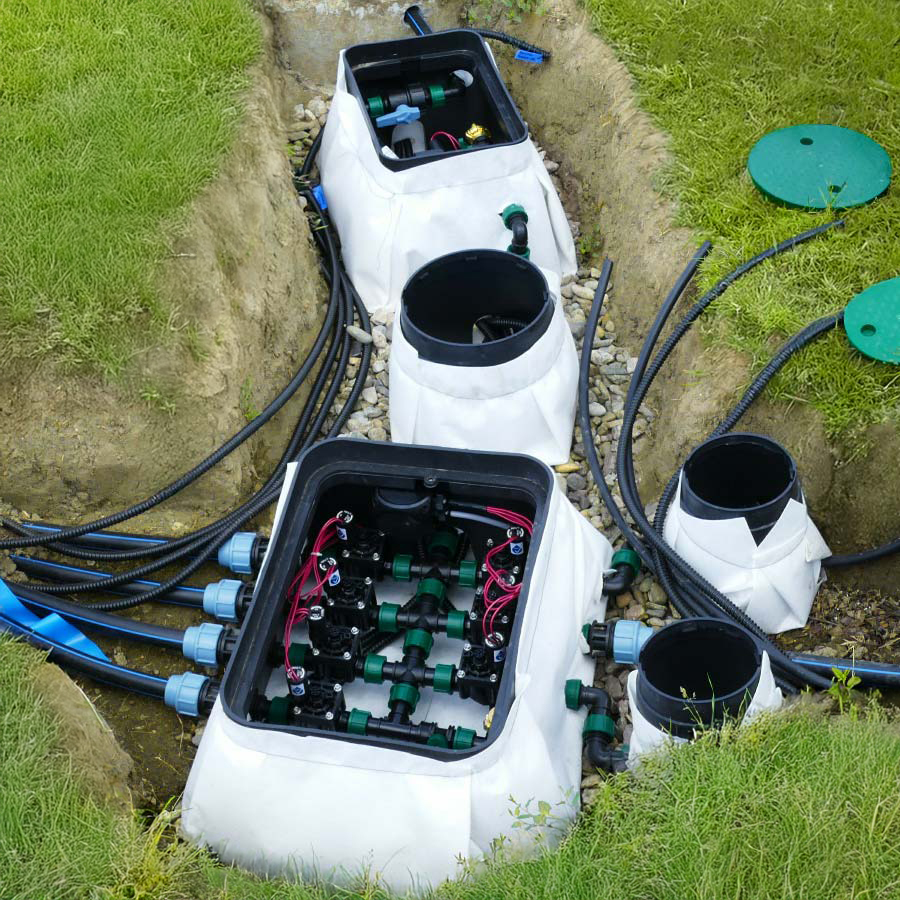
Good planning is half the battle
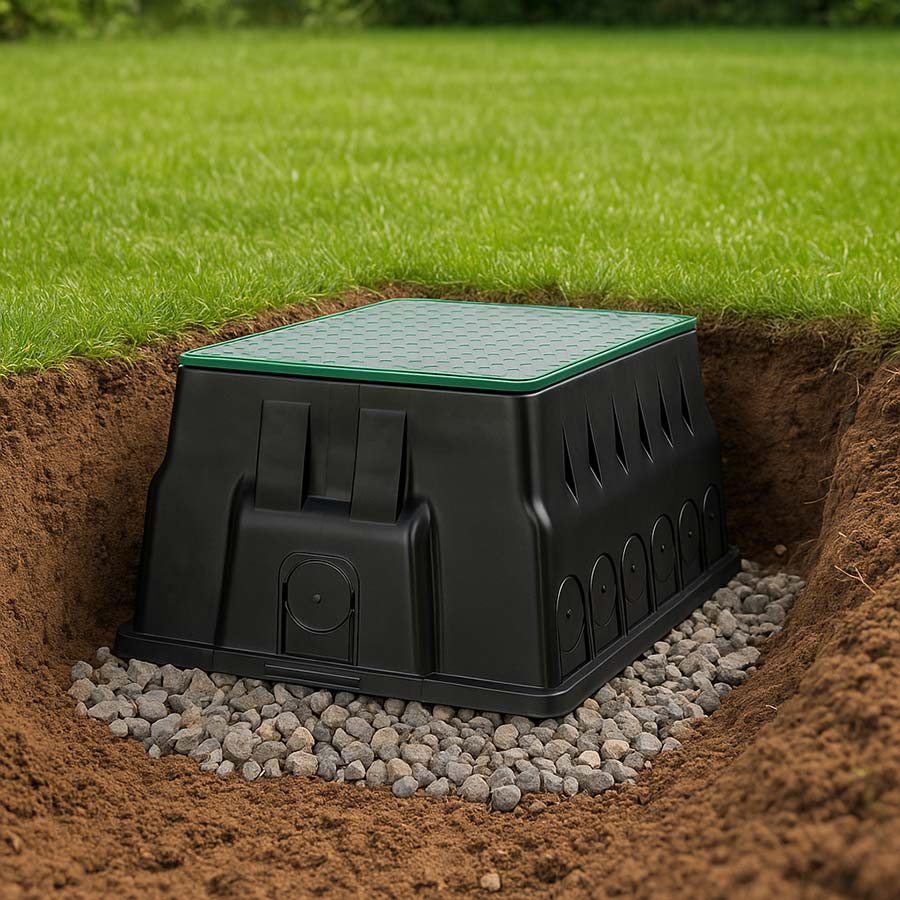
Prepare a suitably large hole for your valve shaft during construction. Fill at least 1/3 of this hole with gravel or similar and place your valve shaft in this gravel bed. The valve shaft for holding your distribution unit is open at the bottom - for good reason. For example, water that enters during rain can easily drain away or seep into the gravel bed. It is also advantageous if, for example, the valve shaft is located in a general gravel area. To prevent the ingress of vermin and sand or soil, it is recommended that the valve chamber is placed on a fleece or geotextile and covered with it to seal all openings as well as possible.
Quality and features:
- Highly impact-resistant plastic in a sturdy design
- Valve chamber housing, open at the bottom: black and green lid
- Polypropylene resistant to UV radiation; suitable for high temperatures
- Resistant to chemicals and corrosion-free
- waterproof and functional in all weather conditions.
- optimum fit: no dirt or grass between housing and lid
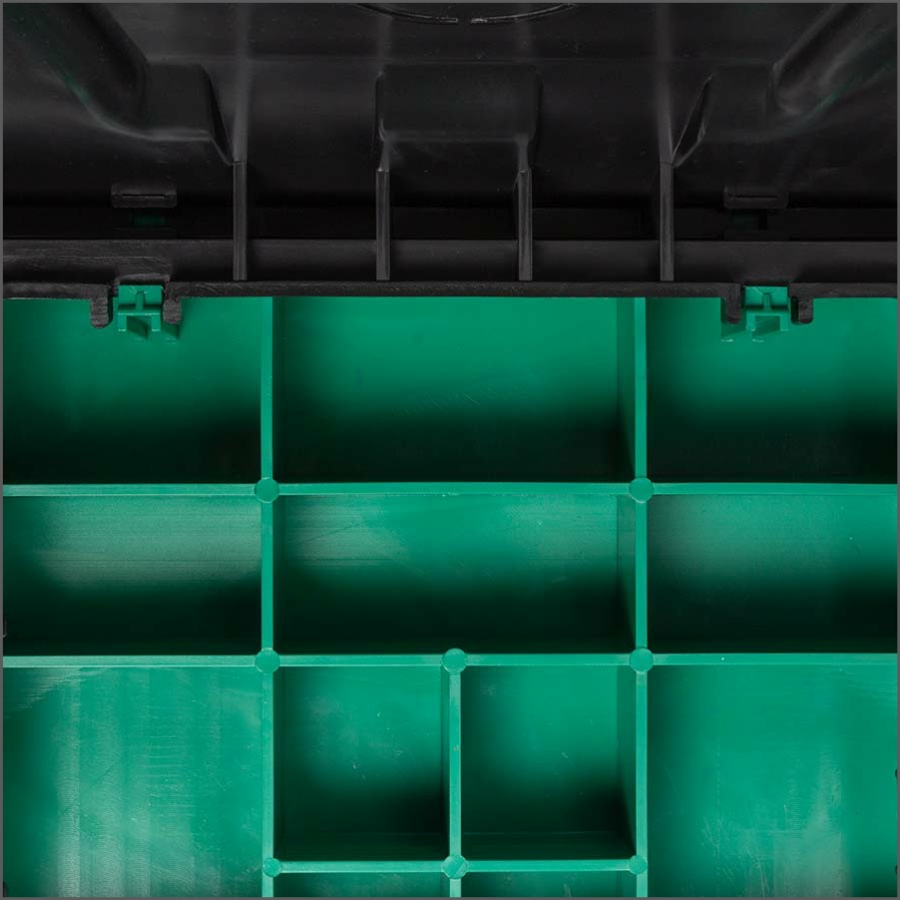
- easy access to fittings thanks to large interior
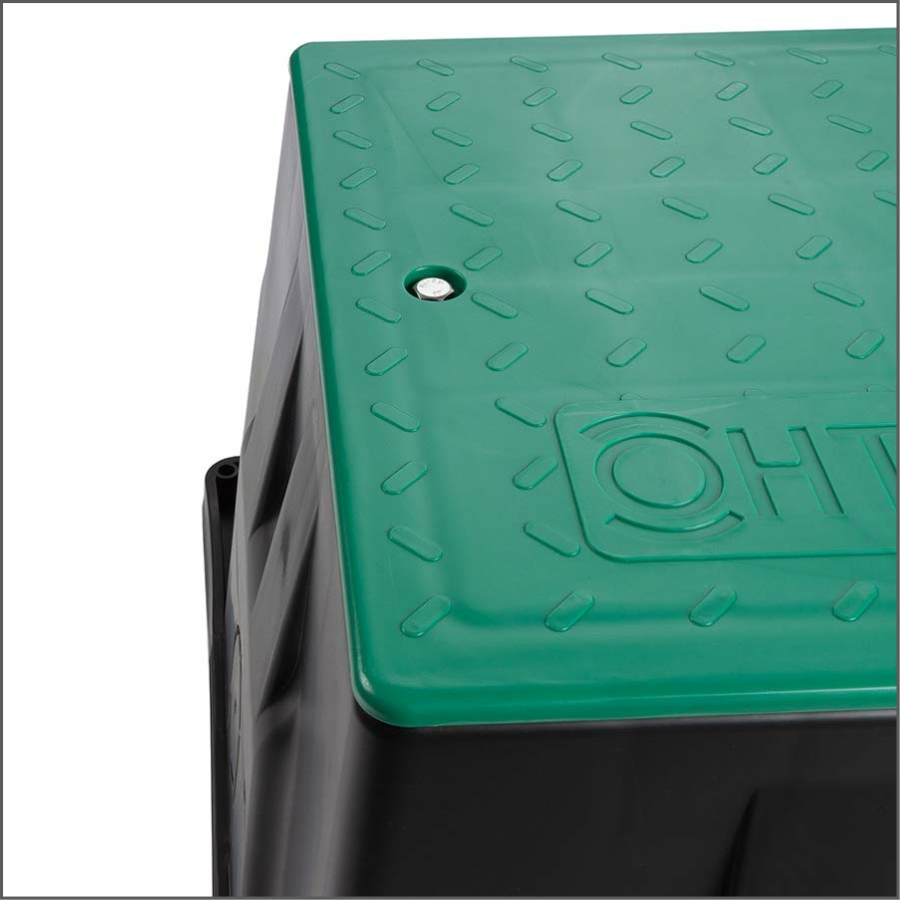
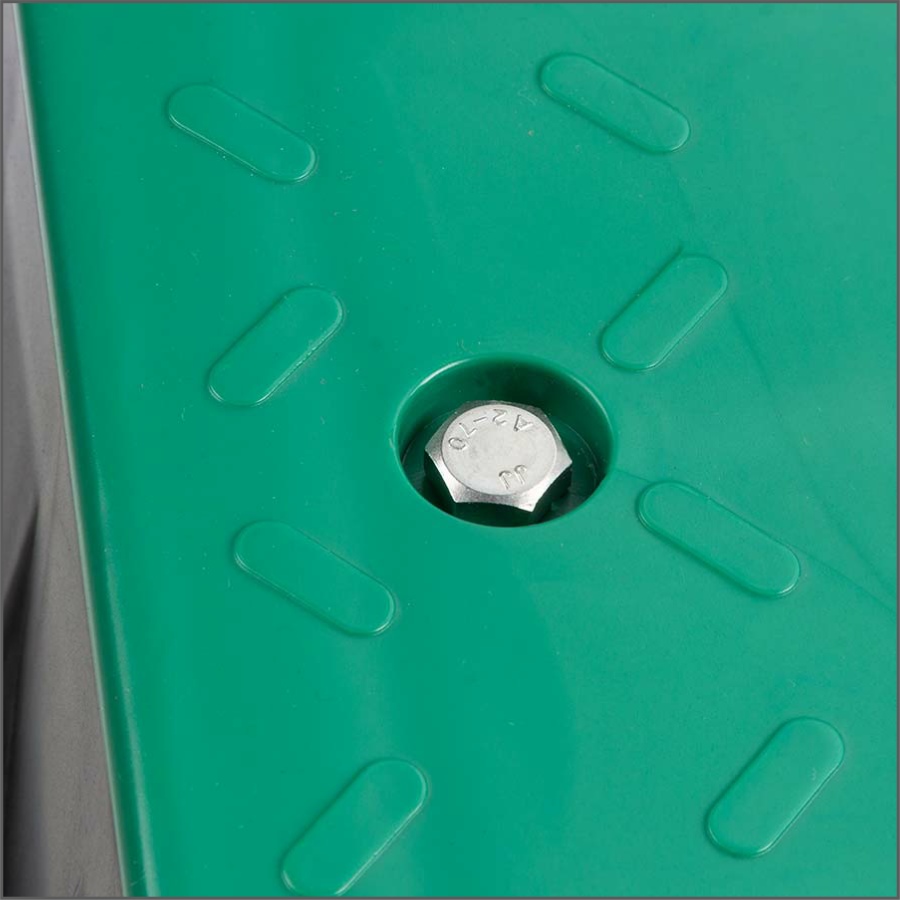
- vandal-proof lid lock with screw (a socket wrench is required to open and close the lid)
- Beveled lid edges protect against possible damage from lawn mowers
Putting the valve chamber cover on correctly - simply explained

Step 1
Place the cover at an angle so that the side with the internal barb sits in the valve shaft and the side with the screw lock points upwards.
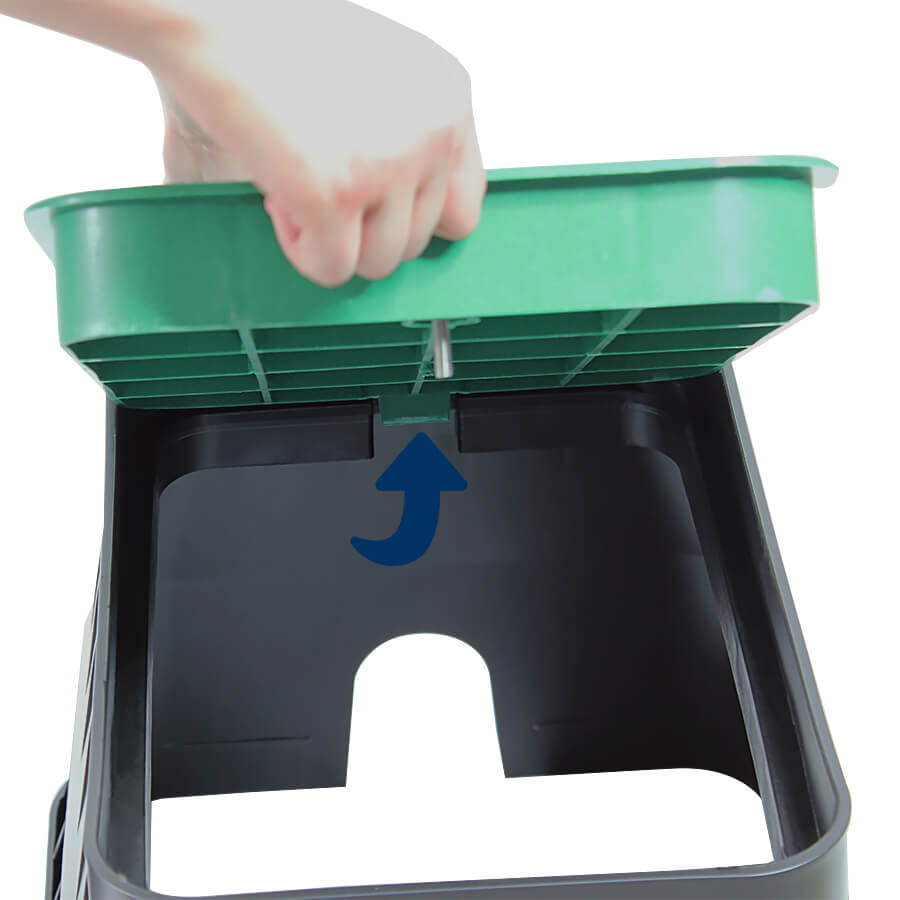
Step 2
The green barb lock of the cover will already engage in the cover housing and cannot be damaged when the cover is fully engaged.
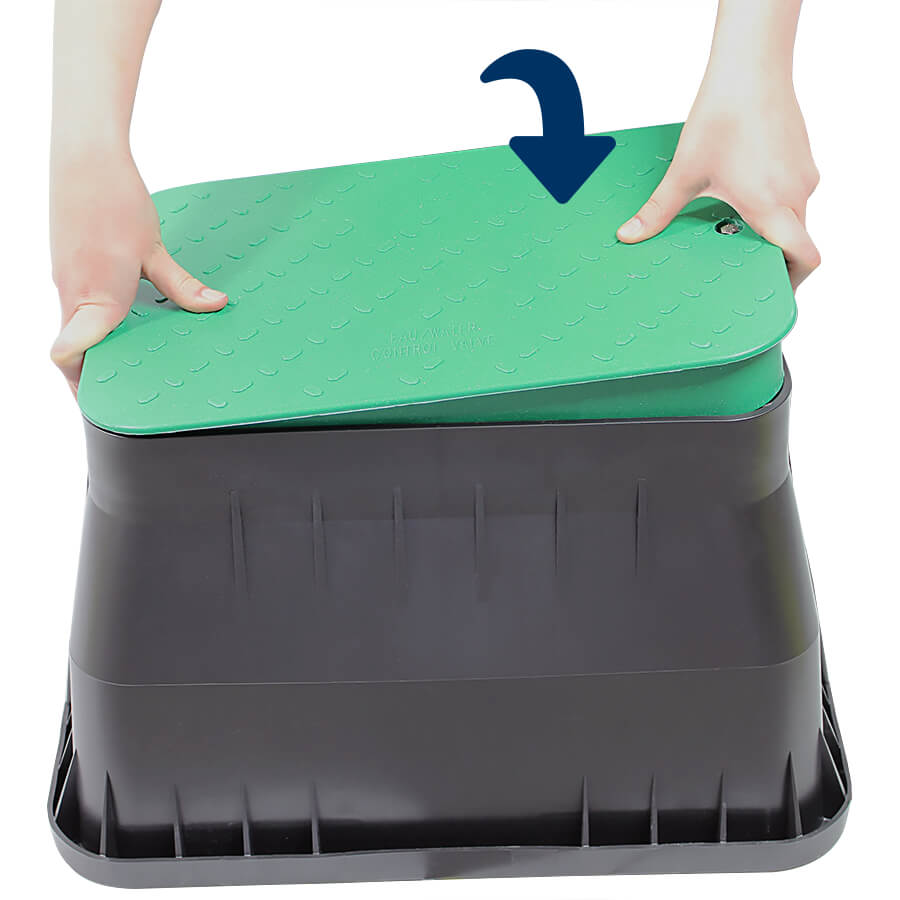
Step 3
Press the side with the screw lock into the recess in the valve chamber body and pull the screw upwards if necessary.

Step 4
Done - Secure your fittings in the valve shaft by screwing in the locking screw to prevent vandalism. You will need a socket wrench for this.

Not like this!
If the cover is pressed in on both sides, there is a risk of the retaining barb on the underside of the cover breaking off.
Provider identification:
HTC
Norisstraße 4
91257 Pegnitz
E-Mail: info@ht-connect.de
Media
There are currently no media files available.